Your customers can look up the status of their repair jobs online, freeing your staff from repeated phone calls.
Each new license purchase of AYS comes with a free trial of RepairStatus.net – our hosted solution for your repair status data.
Follow these steps to set up your Repair Status data upload:
Startup
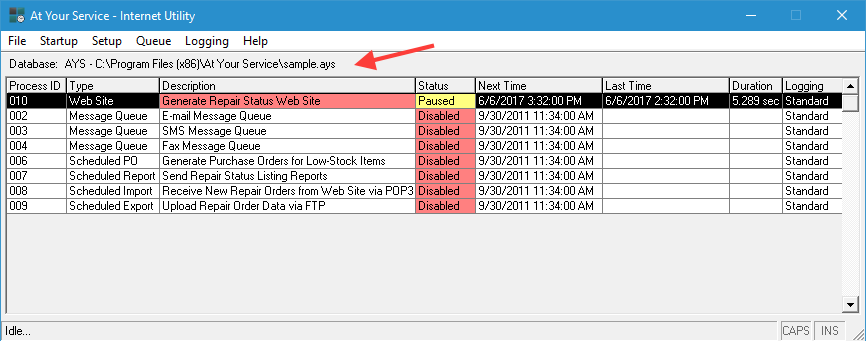
Run the Internet Utility. This can be found in your Start menu by searching for “Internet Utility”. You can also launch it from the File menu in AYS. The utility will look like this:
Notice the arrow is showing which database is opened by the utility. In this instance, the sample database is open. You will need to open your current database if it is not shown in this area of the utility.
You can see the status of all of the tasks, running, waiting, paused or disabled. On the bottom status bar you can also see the overall status of the Internet Utility – in this case, it is “Idle”.
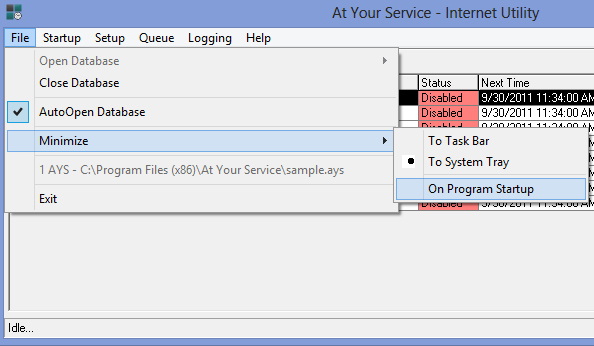
You can choose to minimize the application to the system tray (the area next to your system clock), which will clear up your task bar. You can configure this option under File – Minimize – To System Tray. You can also choose to immediately minimize the utility whenever it is launched.
Configuring the Web Site Upload Process
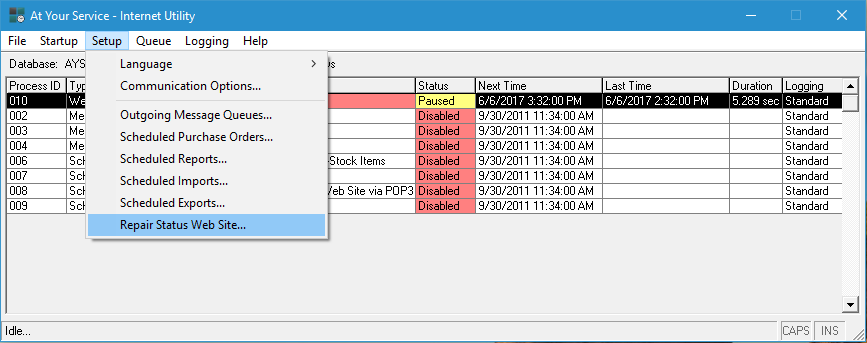
Click on the Setup menu and choose “Repair Status Web Site…” (or right-click on the “Generate Repair Status Web Site” task).
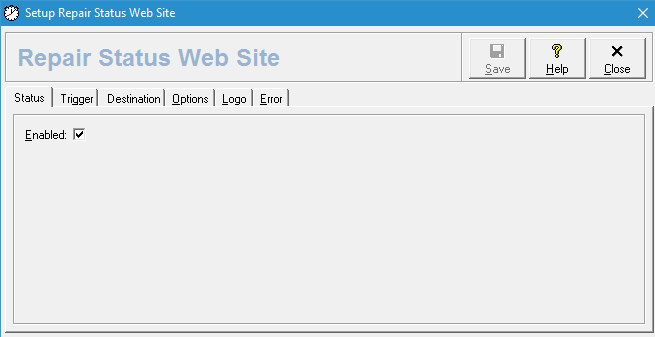
This will bring up the configuration dialog for Repair Status Web Site.
This page will allow you to enable or disable the task. If the checkbox is unchecked, the other tabs will be disabled.
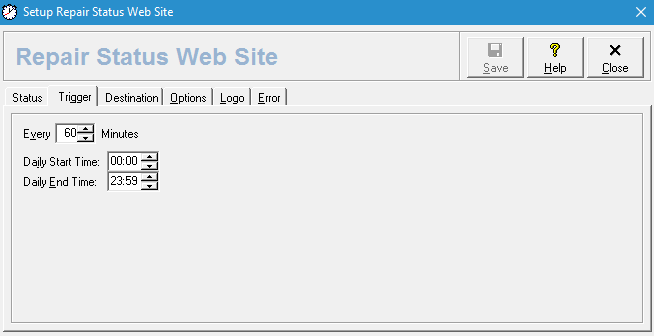
This will show the options for triggering the process, including the interval between runs and the daily start and stop time for the process to function.
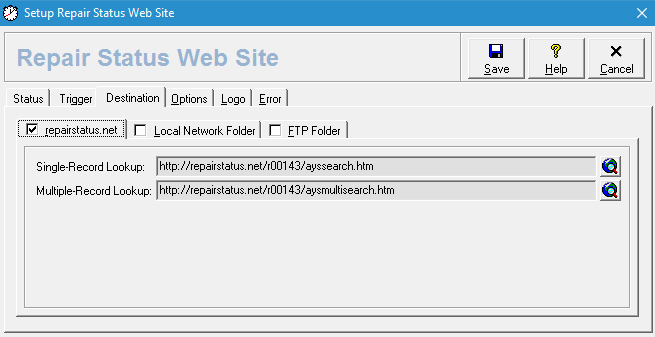
The first option in the destination tab will automatically configure the fields for single-record and multiple-record lookup. Click the globe icon to the right of the field to preview the site in your browser.
If you purchased the option to upload the data to your own web server, then you can configure the destination in the other two tabs, either to a Local Network Folder or upload it via FTP.
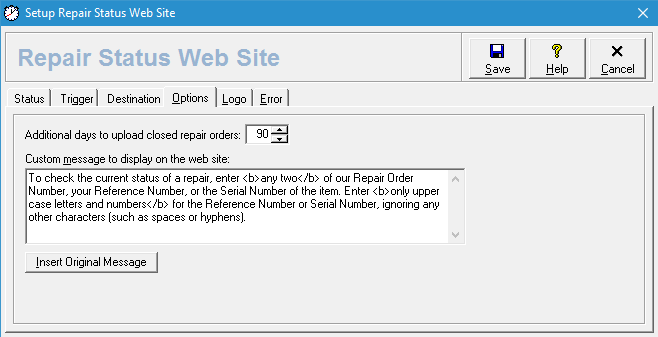
The next tab lets you set a limit for how long completed repair orders (completed or refused, with no balance owing) will be uploaded, as well as the message that shows above the entry fields on the initial single-record lookup page.
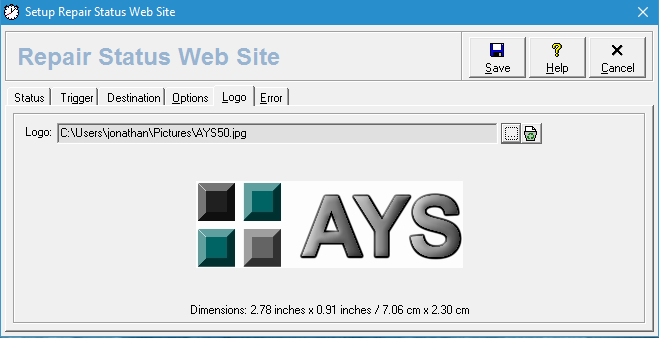
The next tab will allow you to attach a web-ready logo on your web page. There will be no automatic resizing of this logo on the web.
The final tab will allow you to specify an action and error report via email if you choose. You can also log the actions of all Internet Utility processes for later analysis and troubleshooting.
1 person found this article useful
1 person found this article useful
